Setup a stack in idealstack
In Idealstack, a stack defines an isolated hosting cluster on which you can run sites. Depending on your idealstack plan you can have more than one stack.
You can change the settings for your stack at any time, so it's perfectly acceptable to start small and scale up as you grow.
Create a stack
- In the idealstack menu go to Stacks and click Add
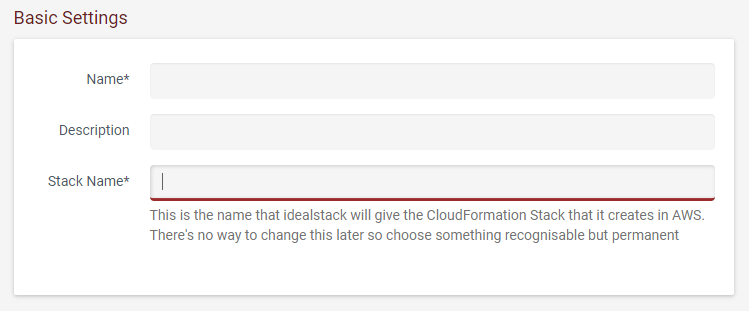
- Give your stack a name and description for your own information. Also give it a Stack Name - this is the
name your stack will have inside the AWS console. You can't change this later (this is the one setting
you can't change later)
- Choose a region - this is the datacenter where your sites will run. Choose somewhere close to you and your
customers

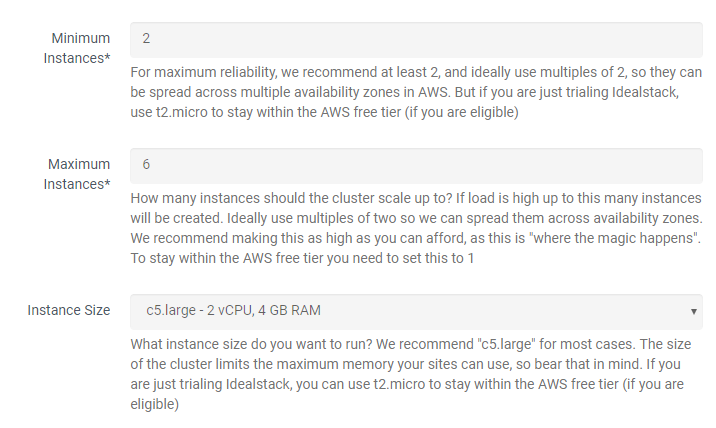
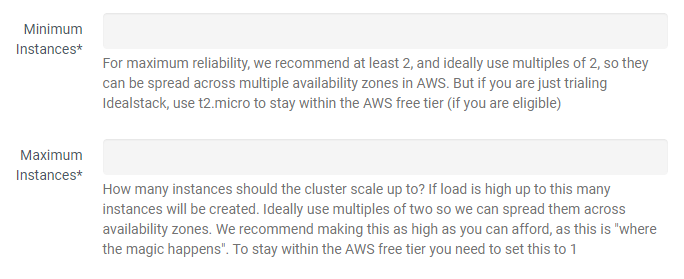
- Choose the minimum and maximum number of instances. Idealstack will autoscale between these two numbers,
increasing the number of instances when the load is high, and decreasing it when load reduces.
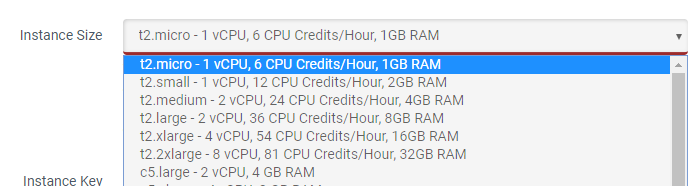
- Choose an instance size. If you want to stay on the AWS free tier choose t2.micro although for production
use we recomend t3.medium
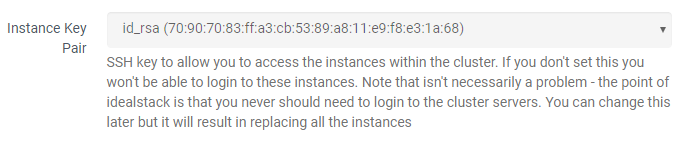
- Choose your instance key pair. This will let you login to the instances that Idealstack creates. You can
run idealstack without setting this although you may prefer to be able to access these instances for
troubleshooting later on. See Setup an EC2 Key
Pair
- Setup database instances on RDS:
- under Database Instances (RDS) - click Add
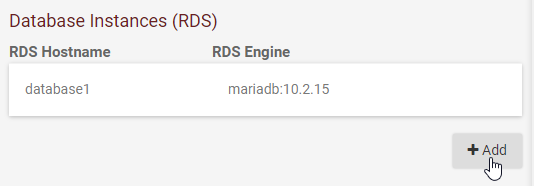
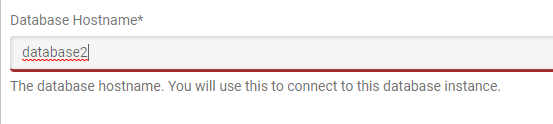
- Give the database instance a name. This is the hostname you will use to connect to it from sites
or database management tools
- Enter the other settings such as engine, instance type and storage
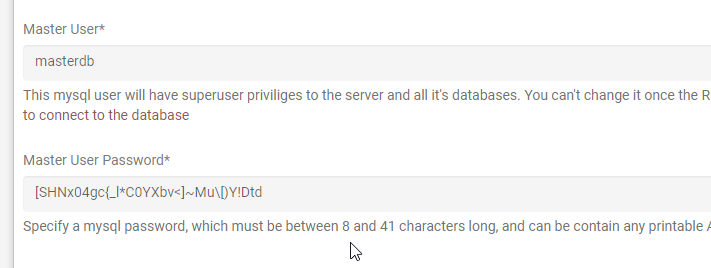
- Enter a master user and password. You will use these to create other database users and connect as
an admin to the database
- under Database Instances (RDS) - click Add
Upscaling and Downscaling your Stack
One key benefit of the AWS/Idealstack platform is that you are able to increase or decrease the size of your hosting stack without any downtime whenever you choose. Idealstack will automatically handle booting new instances, migrating your services to them, then shutting down the old ones once everything is working properly.
You may want to keep your Stack on minimal settings (minimum instances: 1, instance size: t2.micro) while you are developing/testing, then upgrade it when you go live.
Another application of this is to upscale for seasonal events or special promotions then downscale again during times of low traffic (Autoscaling can also do this for you, but autoscale needs to see the load first in order to react to it, then boot new servers, migrate services to them, then "cool down" from the load : all of this can take about 5-15 minutes if your site is under a load spike - scaling in advance always gives a better result if you know the load is coming)
To do this:
- Find the stack under Stacks in the Idealstack console
- Choose new values for the Minimum Instances, Maximum Instances and Instance
Size. One thing you need to take care with is to ensure you don't downscale below the
minimum resources your sites need. One way to ensure you don't do that is leave the Maximum Instances
at a reasonably high level, while changing the Minimum Instances. Idealstack will automatically autoscale
the cluster to the required size to handle the number of sites you have and the load they are getting.