VTiger CRM is an open source CRM system. It runs great on AWS using Idealstack. By running it on AWS using Idealstack you can take advantage of AWS’s infinite scalability (very important for CRM systems, where slowness can lead to a lot of lost productivity for your team)
In this howto we'll walk you through installing VTiger on an auto-scaling, best practice hosting stack on AWS using Idealstack:
Installation
-
Create a hosting plan in Idealstack that matches vtiger’s system requirements if you don’t already have one
-
Note that this doc hasn’t been updated in a while - it still lists php5 and 7.0 as requirements, and these are both now end-of-life PHP releases. We used php 7.2
-
We increased the memory limit to 256M and left other settings on their defaults

-
-
In your stack, you will need an RDS instance, and this also needs some non-standard mysql options to be set. Either create a new RDS or set the parameters on an existing RDS to “sql_mode=ERROR_FOR_DIVISION_BY_ZERO,NO_AUTO_CREATE_USER,NO_ENGINE_SUBSTITUTION”
-
Create a site in Idealstack - you can just accept all the defaults
-
Apply your changes to AWS
-
Now upload the vtiger code to your site. You could upload the files over SFTP, but it’s faster to download and extract them directly on the server using SSH
-
Connect to SSH for the site
-
Go to the download page for vtiger and copy the link ‘Download TAR.GZ’
-
    #Replace this url with the one you copied and pasted
    wget https://sourceforge.net/projects/vtigercrm/files/vtiger%20CRM%207.1.0/Core%20Product/vtigercrm7.1.0.tar.gz/ -o vtiger.tar.gz
    tar -xzf vtiger.tar.gz
    mv vtigercrm/* public_html/
    rmdir vtigercrm/
    rm vtiger.tar.gz
-
-
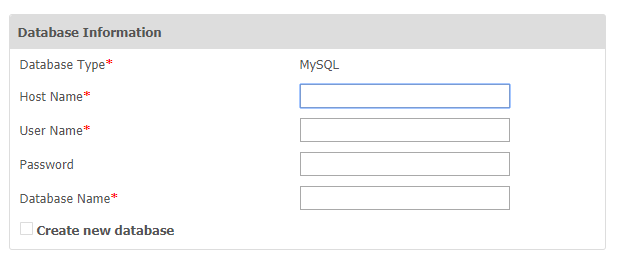
Create a database for your CRM. Make sure you set the collation for the database to “utf8_general_ci” rather than the default of “latin1_ci”
-
Now navigate to your site and complete the vtiger setup. If you haven’t setup DNS yet you can easily do this using the test domain:

-
Navigate through the vtiger setup screens accepting the defaults. When asked for the database details use the name of your RDS instance for the hostname, and the username/password you created in step 5.
-
Enter the other details (password etc) that you want for your installation
-
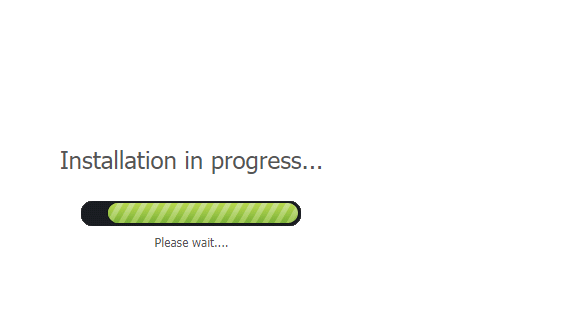
Wait for the installation to complete
-
Done!