Managing databases in Idealstack
Creating a database instance in your stack
You can create as many database instances as you want in your stack. Read more on how to create a database instance
Connecting to databases and creating databases
When you create sites, use the 'name' you set when creating the RDS in idealstack. We recommend that you create a new database user/password for each site, rather than just using the master one for every site. If that's what you're wanting to do, you might prefer the brief instruction on creating a Database and user
Managing databases using the Idealstack database GUI
To access the database,
- Go to the site you are interested in in idealstack and click
the Connect tab
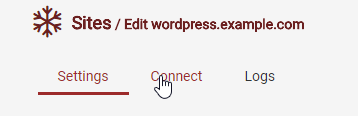
- In the section Connect to the database click Database
Manager

- You'll be taken to the database manager
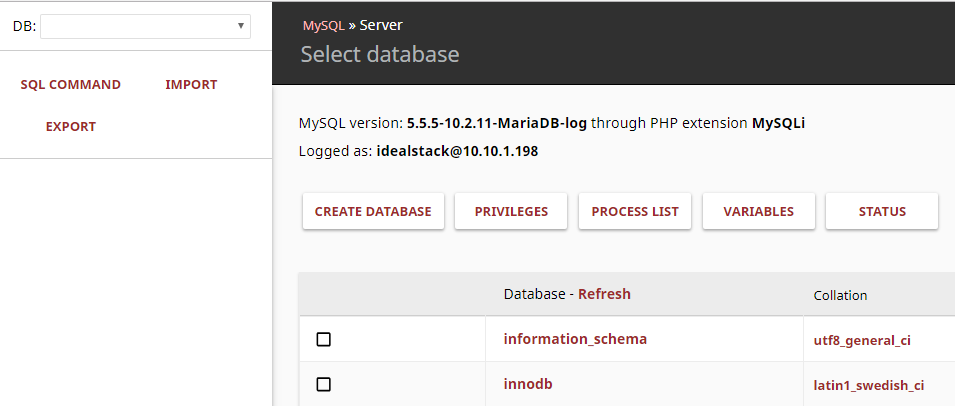
- In the database manager you can create databases, manage users under PRIVILEGES, change table schemas, import/export or run queries and view/change data
Connecting to the database server from the SSH commandline
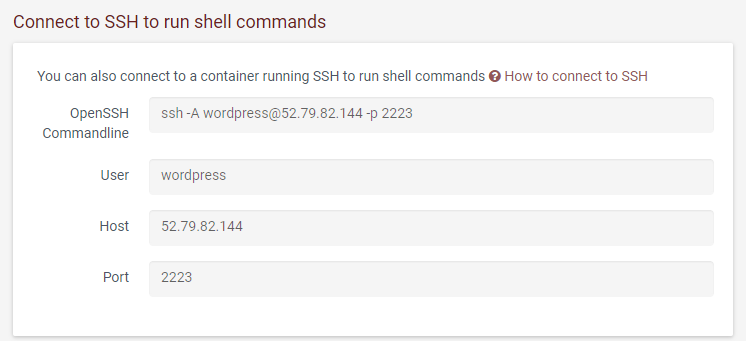
Firstly connect to SSH
The use the mysql commandline client to connect to the database. In the following commandline: replace the username with the master username you used when creating the stack, and the name with you gave the database when in the stack settings. Enter the password when prompted
mysql -h database -u <username> -p
Now you should be connected the mysql command prompt. You can run any mysql commands. For instance, to create a database and a username/password for the site use these commands:
create database db_name;

        grant all on db_name.* to 'db_user'@'%' identified by 'db_password';
Copy databases from your local machine
You can do this using PHPMyAdmin, but it's often a lot quicker and faster if you can automate your deployment using the commandline.
A commandline snippet that is quite useful for this:
ssh sshuser@11.22.33.44.55 -p 2223 mysqladmin create -u remotedbuser --password=remotedbpassword remotedatabase
        mysqldump -u localuser --password=localpassword localdatabase | ssh  sshuser@11.22.33.44.55  -p 2223 mysql -u remotedbuser --password=remotedbpassword remotedatabase
Connecting to the database using a GUI local client
To connect to the database server using a local client, you need to tunel the connection over SSH. Most database clients support this natively. Depending on your platform there's a number of good options:
- Cross Platform
- PHPStorm (we use this here at Idealstack and can't recomend it enough)
- Mysql Workbench (Free, open source)
- Windows
- HeidiSQL (Free, open source)
- SQLYog (commercial)
- Navicat (commecial)
- MacOS
- SQLPro
- Querious
We'll demonstrate here with Mysql Workbench which is a free download for almost every platform, but the process is generally similar for any other client:
- Create a new connection and select SSH as the connection method:

- For the SSH hostname, port and username use the SSH connection parameters for your site. However you
need to use the SFTP port (2222) rather than the SSH port (2223)

- Select your SSH private key file

- For the MYSQL hostname use hostname you gave the database instance. The port should be the default,
3306. Use the master username and password you created when creating the stack

Installing PHPMyadmin to connect to databases
You might prefer to use PhpMyAdmin over the in-built database management tool (Adminer) - see install phpmyadmin for instructions on how to install PHPMyAdmin in a site on Idealstack.