Setup a hosting plan in idealstack
The hosting plan is what defines the settings for your sites - php, auto-scaling, webserver settings and more.
Create a hosting plan
-
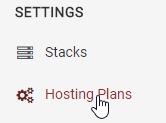
In the idealstack menu go to Hosting Plans and click Add
-
Enter a name and description (these are just for your own purposes in identifying this hosting plan)
-
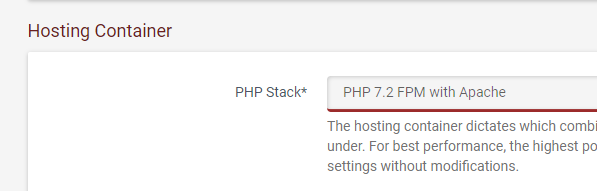
Choose a Hosting Container. This defines the combo of webserver and PHP version that your site will run
-
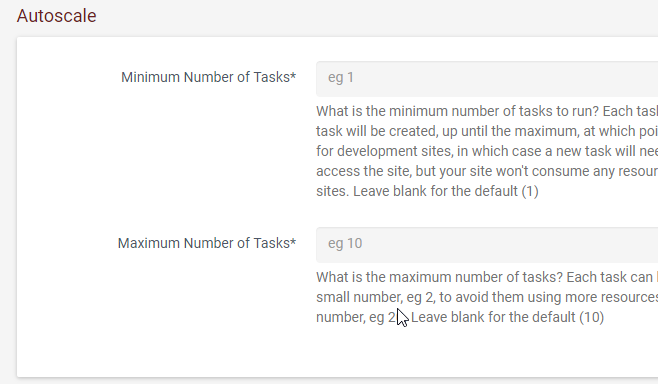
Enter autoscale settings for the site. Combined with the autoscale settings for the stack this defines how the site will autoscale. If you you set a maximum of 1 for instance, then even if the cluster autoscales up and creates a new server it won’t run your site - this can be useful if you have a small low-priority site (eg a dev site) that you don’t want to monopolize resources. For most usages though we recommend a minimum of 1 and a maximum of 10 or more
-
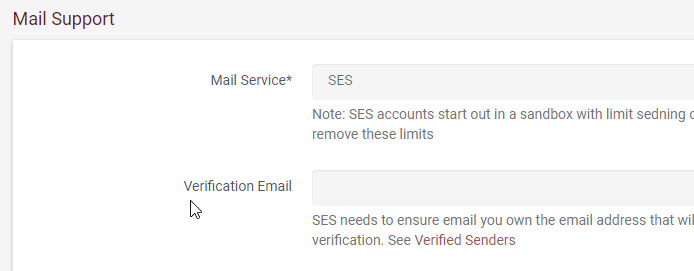
Email Support - if you want your site to be able to send email you must either enter an SMTP username/password or opt to use AWS’s SES. Note that SES initially starts out in a sandbox and you must request AWS to verify your account first (see more on the AWS docs )
PHP Settings
-
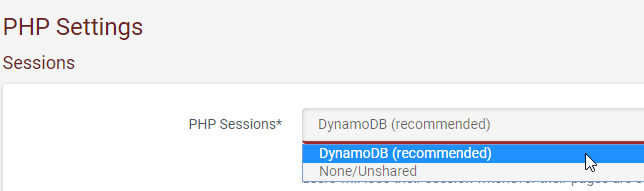
Choose how to manage sessions for PHP. Most PHP apps will need sessions and for those we recommend using DynamoDB. This will create a dynamodb table for each site and setup a PHP session handler to automatically use that for sessions. Certain apps will set up their own sessions (eg Magento) or don’t use sessions in which case you can use “None” to avoid creating a dynamodb table.
-
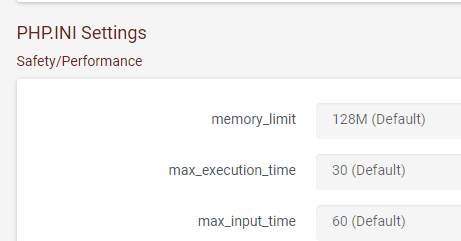
PHP.INI settings. You can use these to tweak the behaviour of PHP. There should be no need to change these unless you know what you are doing.
-
To show these settings click PHP.INI settings

-
Choose the settings
-
Enable extra PHP modules
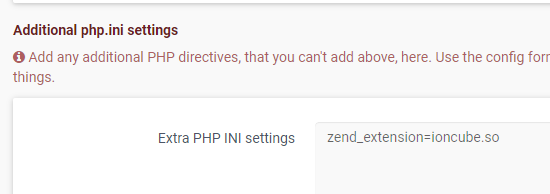
Idealstack's hosting images ship with most common PHP modules, but some are disabled by default because they may impact on performance or reliability.
ioncube loader
To enable ioncube add
zend_extension=ioncube.so
xdebug
add
zend_extension=xdebug.so
Webserver settings
You can tweak the settings of the webserver software (eg Apache or Nginx depending on the hosting container you use)
by manually pasting in webserver directives. You shouldn’t need to use this unless you know what your doing,
and indeed pasting the wrong thing in here can break things. So you should probably leave this blank

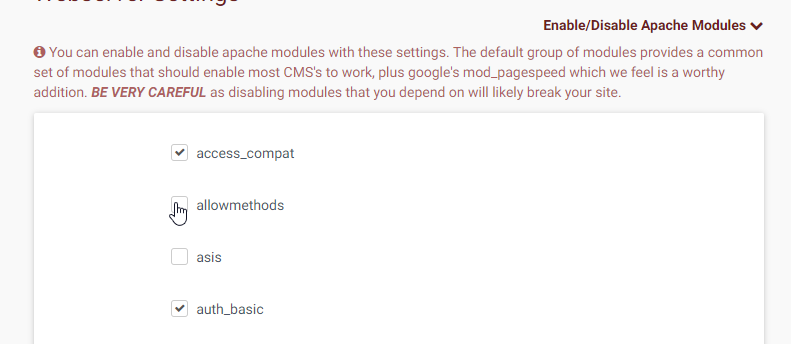
Enabling/disabling apache modules
Sometimes you might need extra apache modules - you can do this under Enable/Disable Apache Modules. Simply check the modules that you want to enable